Filtering Imagery
Filters help you customize the imagery available in the Carousel and displayed the viewport.
Using Filters
Zoom to level 13 or higher.
In the Carousel toolbar, select the Filters icon
 .
. 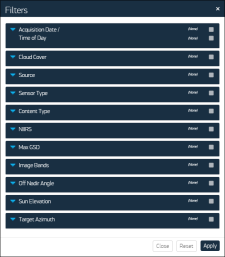
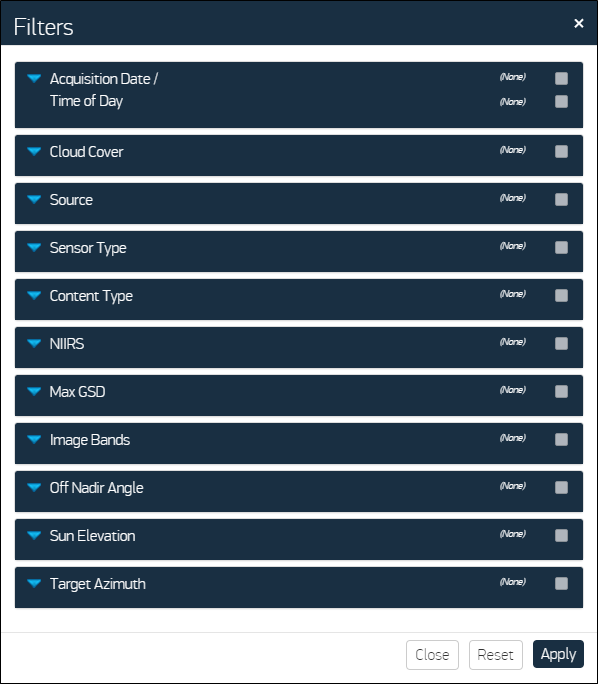
Filters Dialog
Select options from each section to narrow down your image results.
 More Information
Acquisition Date / Time of Day Date and time ranges for when the image was acquired.
The time of day filter applies only to the Online imagery catalog.
The time of day filter does not return mosaic imagery.
Be sure to format date and time ranges correctly.
Acquisition Date Format (yyyy-mm-dd)
Use the calendar picker to automatically format dates.
Date formats such as dd-mm-yyyy are not accepted.
Time of Day Format HH:MM AM/PM
Time ranges must be entered manually.
You must include AM or PM. Enter a space between the time and AM or PM (e.g., 08:17 AM, 12:42 PM).
Time ranges must use 12-hour format. 24-hour format is not accepted.
You will receive an error if you format a date or time range incorrectly.
Cloud Cover The maximum cloud cover percentage. (0%–50%)
The cloud cover filter applies to the entire strip, not your area of interest. Using this filter may filter out strips that have good coverage over your area but are cloudy elsewhere.
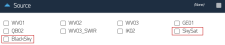
Source The source(s) you want to use for the imagery.
Third-party data sources will be available if they are turned on for your account.
Sensor Type Select the Maxar sensor(s). (Satellite, Aerial, Radar)
Content Type
When you apply filter settings, the checkbox next to the filter's name is automatically selected. If you want to remove a filter, clear the checkbox next to the filter's name.
Select Apply, or select Reset to return the filter settings to their defaults.
When you click Apply, your filters settings are saved and will persist from session to session until you reset or change them. If you close the dialog without applying your selections, the filter settings will not be saved.
If filters are applied, the Filters icon in the Carousel is on
 . If all filters are removed, the icon is off.

Using the Catalog Filter
The Catalog Filter lets you select the imagery catalog you want to view, including archive imagery and stereo imagery. There are two ways to select the Catalog Filter: from the Carousel and from the Map Options menu.
| The Catalog Filter is available in the Map Options menu at all zoom levels, while the Carousel is only available at zoom levels 13 and higher. You may want to select the Catalog Filter from the Map Options menu when you want to browse for imagery or view imagery footprints at a high level, and then use the Catalog Filter in the Carousel when you are selecting individual images to work with in the viewport. |
Do one of the following, depending on if you want to select the Catalog Filter from the Carousel or from the Map Options menu.
Select the Catalog Filter from the Carousel- Zoom to level 13 or higher.
- In the Carousel toolbar, select the Catalog Filter icon
 .
. Select one of the following:
- Online View online imagery
DG Archive View archive imagery
Imagery footprints are not available when the DG Archive catalog filter is selected.
- Stereo Archive View paired triangulated stereo images
The Carousel refreshes to show the imagery catalog you selected.
Select the Catalog Filter from the Map Options Menu- On the header bar, select Map Options.
In the Catalog Filter drop-down, select one of the following:
- Online View online imagery
DG Archive View archive imagery
Imagery footprints are not available when the DG Archive catalog filter is selected.
- Stereo Archive View paired triangulated stereo images
The viewport refreshes to show the imagery catalog you selected.
Imagery footprints are filtered by the selected catalog filter.