Integrating G-EGD with ArcGIS
Follow the steps below to integrate WMS and WMTS with ArcGIS. To integrate WCS, use the ImageConnect plugin by following the steps in the ImageConnect User Guide for G-EGD.
Adding G-EGD to ArcGIS 10.1
For ArcGIS 10.1, Maxar provides a packaged set of layers you can download and open directly.
| Although the menu item in G-EGD is labeled ArcGIS 10.1+, an ESRI bug prevents its use beyond version 10.1. |
Navigate to https://evwhs.digitalglobe.com and log in.
- On the header bar, select Use With > ArcGIS 10.1+. A package file called item.pkinfo downloads. Depending on your browser settings, you may have the opportunity to rename the file or select a download location.
Open the file. ArcMap opens and prompts for your user ID and password.
Enter your credentials and select OK.
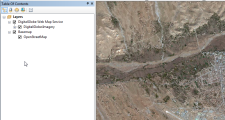
The services are listed in the Table of Contents pane.
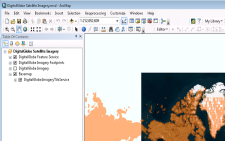
Table of Contents with Maxar Satellite Imagery
See Introduction to Global Enhanced GEOINT Delivery (G-EGD) with ArcGIS for layer definitions. Labels may vary slightly.
- To view your area of interest, zoom in on the map. The raster image may take several seconds to render.

Adding a WMS or WMTS Server to ArcGIS 10.1+
Navigate to https://evwhs.digitalglobe.com and log in.
On the header bar, select Use With > Web Services. The Web Services dialog opens.
- Copy the endpoint URL for WMS or WMTS.
- Open ArcMap.
- Open the Catalog window, then expand the choices under GIS Servers.
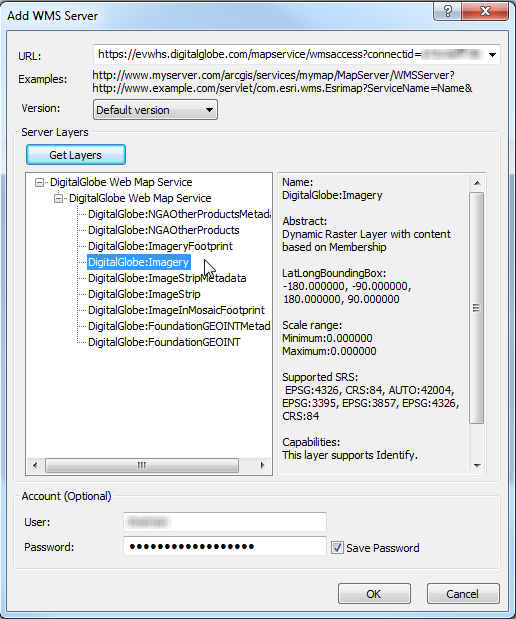
- Double-click Add WMS Server or Add WMTS Server, then select Add. The Add WMS/WMTS Server dialog opens.
In the fields, enter the following details:
- URL Paste the WMS or WMTS URL that you copied from G-EGD.
- Version Select Default version.
- User Enter your G-EGD username.
- Password Enter your G-EGD password.
(Optional) Select Get Layers. The server fetches the available layers and displays them in the Server Layers area. You can select each layer to see some basic information about it.

Adding WMS Server Dialog with Layers
Select OK. The new web service is listed under GIS Servers in the Catalog window. Expand Web Map Service to see the list of available layers.
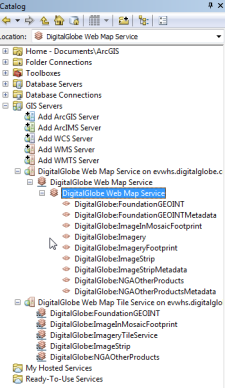
Catalog Window with Web Map Service Expanded
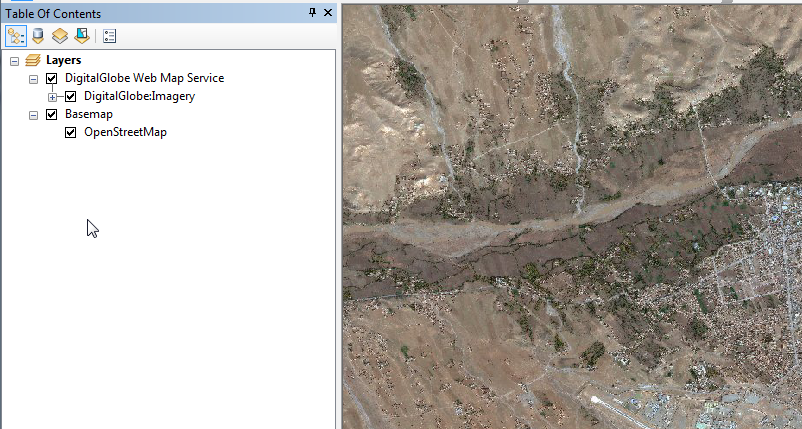
To view your area of interest, zoom in on the map and drag the layer(s) you want to view into the data pane. The raster image may take several seconds to render.
Raster Image in the Data Pane