Working with the Image Library
The Library in ImageConnect has similar functionality to the library in G-EGD.
Saving Imagery to Your Library
You can save imagery to your library for download. Your library is common to both ImageConnect and G-EGD, so you can download or delete imagery from either application. When you save an image, the image creation process continues even if you log out; you can log in later and download the image. Once the image has been created, the file is listed in the Library, including its file name, creation timestamp, file size, and download links.
| Saving uses a first-in-first-out model; your request is queued behind any other requests in the system. Your request could take only a few minutes to complete, or much longer, depending on request activity. |
| Images are saved in your library for approximately two weeks and then are deleted. |
Do one of the following:
- Save a Full Image Right-click the image in the list and select Add to Library.
- Save a Partial Image Select the My Library drop-down, then and select one of the following:
Add to Library by Selection Your image must have polygons drawn; the selected polygon defines the boundaries of your image or mashup.
Add to Library by Snapshot The data frame defines the boundaries of your image or mashup.
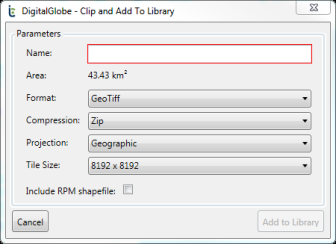
The Clip and Add to Library dialog opens.
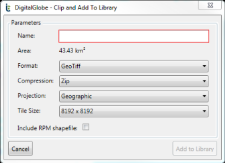
Clip and Add to Library Dialog
In the Name field, enter a name for the file.
From the drop-down menus, select your desired image settings.
- Select or clear the Include RPM Shapefile checkbox. See Working with the Refined Persistent Change Model.
- Select Add to Library. A confirmation dialog opens.
Select Close or Go to Library.
Viewing Your Library and Downloading
The images added to your Library actually consist of many files, including the NextView license, the image file(s), a 16m browse image, a tile map shapefile depicting the tile layout, and a seamline shapefile depicting the source images used in a mosaic or snapshot . These are packaged into a .tar or .zip file for download.
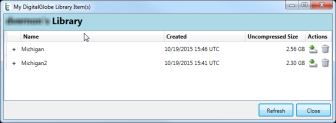
- Select View Library. The My Library dialog opens.
To download an image, select the Download icon.
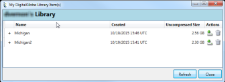
My Library Dialog
| The number of files depends on size of image and tile size selected. Metadata for each image is also included. |
Sorting Images in the Library
By default, items in the library are sorted by creation date, with the most recent first. To sort another way, select a column heading to sort by an item's name, creation date, or uncompressed size. Select the column heading again to sort in the opposite order.
Deleting Images from the Library
- To delete images from the library, select the Delete icon next to the entry you want to delete. A confirmation dialog opens.
- Select Yes. The file is removed from the library.