Creating Project Information for Quality Control (QC)
You can use ImageConnect to provide Quality Control personnel with project area footprints and inclusion areas.
Exporting Project Area Footprints
Exporting project area footprints is a mechanism to provide QC personnel with a shapefile or feature class containing the metadata for the images in the Default Imagery layer used to create your project.
| Your project area export may not match your digitization project precisely because a new image added to the service will become the default. |
- Create or open a feature class or shapefile containing a polygon for your project area.
- With only your AOI polygon selected, select the ImageConnect menu, then select Download Image Footprints. The Download WFS Layer dialog opens.
- Follow the ArcMap prompts and select Save.
Working with Inclusion Areas
Inclusion areas in ImageConnect define expanses where an image from the Additional Imagery layer is used for digitizing. The inclusion areas you create are available to all users with the same account access you have via a Web Feature Service (WFS). You can download the inclusion areas and provide them to QC personnel along with your project area footprints
If you are using an image from the Additional Imagery layer and want to capture that information:
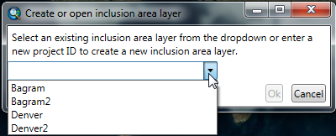
Select the ImageConnect menu, then select Inclusion Areas > Create or Open. The Create or open inclusion area layer dialog opens.

Create or Open Inclusion Area Layer Dialog
Enter a new project ID or select an existing project and select OK.
Edit the layer and add a polygon that encompasses the area where you used the additional imagery.
Right-click the image you are using from the Additional Images list. From the context menu, select View Metadata. The Image Metadata pane opens.
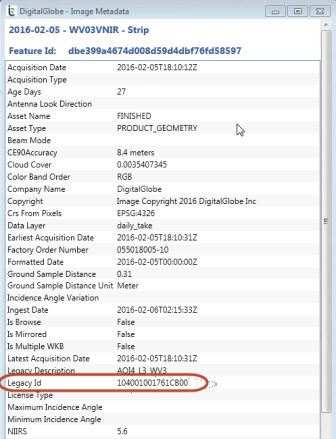
Image Metadata Pane
Copy the Legacy Id and paste it into the catalog_id field in the attribute window for the polygon.
Legacy ID and catalog ID are synonymous.
Add additional polygons with catalog IDs for each inclusion area.
When you are finished editing, save your edits. ImageConnect submits your polygon(s), which are stored by the service and are available to all users with the same account access you have.
Because inclusion areas are a WFS layer, they are not refreshed while in edit mode. As a result, any polygons that are outside the data frame when you start editing will not be fetched until you stop editing, even if you pan or zoom to their locations. To fetch all polygons in your new location, stop editing before panning and zooming.
To download your inclusion areas, select the ImageConnect menu, then select Inclusion Areas > Download Inclusion Areas. Follow the ArcMap prompts and select Save.