Viewing Cloudless Imagery
Cloudless mode allows you to view a cloud-free mashup of imagery. You can capture the cloud-free view as a snapshot or save the full image to your library (see Taking a Snapshot and Adding Imagery to the Library). Cloudless mode uses a cloud cover polygon to mask clouds so the layer below shows through the cloudy area. You can apply cloudless mode to all images or to individual images.
| This feature only applies to content hosted on the platform after early-to-mid April 2015, when Maxar began including a cloud cover polygon with newly ingested images. You can identify images that have cloudless mode turned on by looking at the Has Cloudless Geometry value in the Metadata dialog. |
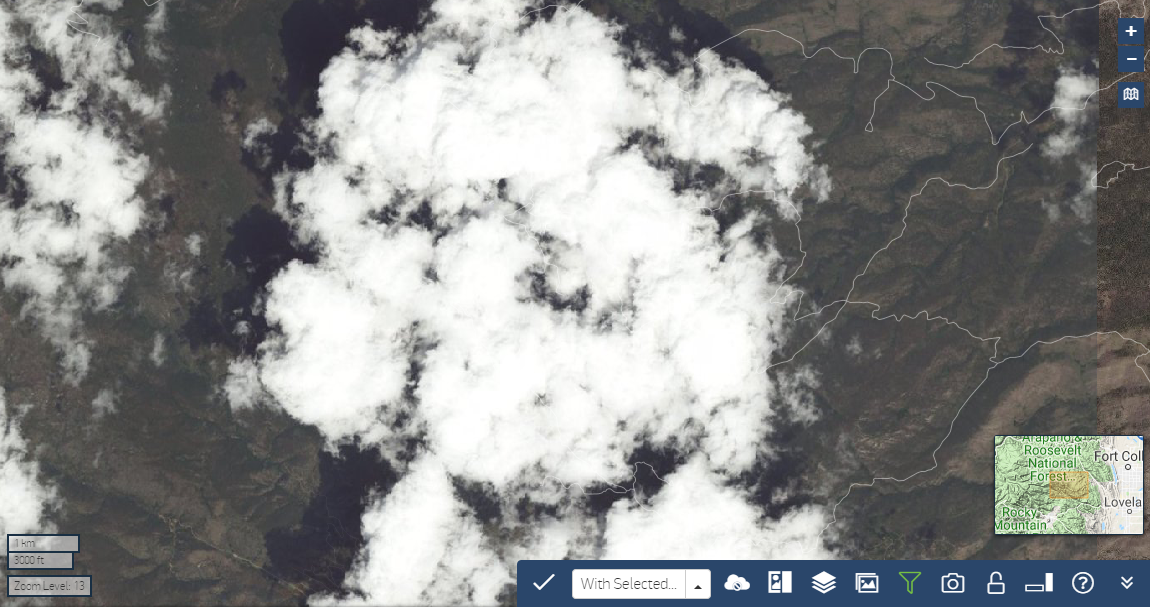
Locate an area with a cloudy image.
Cloudless Mode Turned Off
- Zoom to level 13 or higher.
To turn on cloudless mode, do either of the following:
- Turn On for a Single ImageHover over a thumbnail image to show the Image Menu

Turn Off for All Images In the Carousel toolbar, select the Toggle Cloudless Mode icon
 .
.
If you turn on cloudless mode for all images and then select cloudless mode for a single image, cloudless mode for all images is turned off (and vice versa).
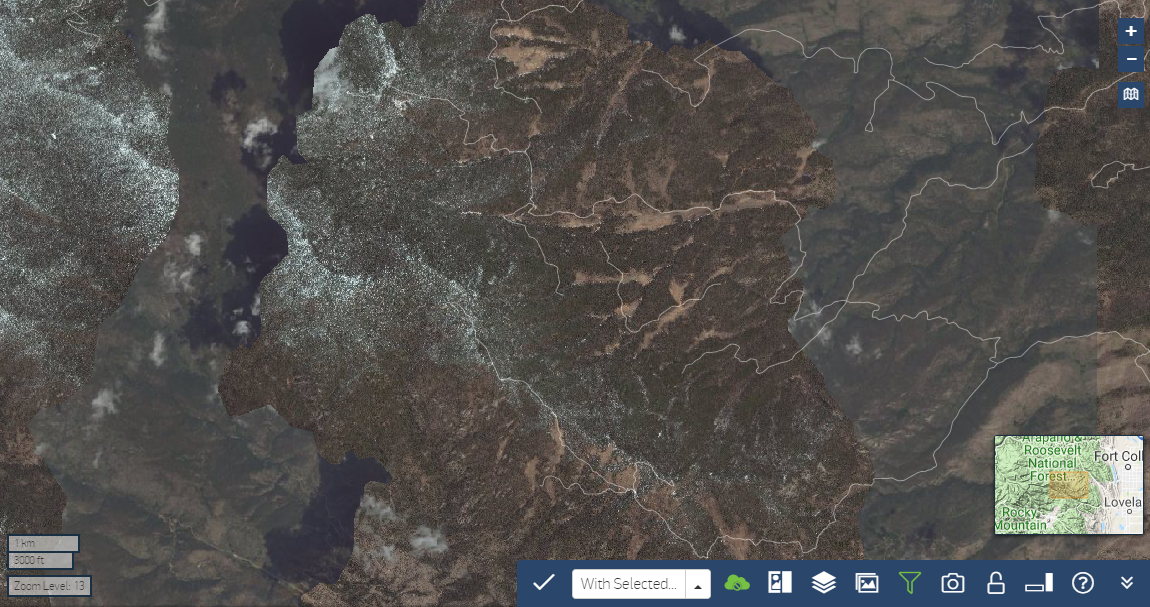
A mashup with the clouds removed appears in the viewport.
Cloudless Mode Turned On
If high resolution imagery is not available to fill the cloud polygons, one of the following happens.
- If the Carousel is Unlocked and Unfiltered Terracolor imagery fills the holes.
- If the Carousel is Locked or Filtered The basemap shows through the holes.
- Turn On for a Single ImageHover over a thumbnail image to show the Image Menu
To turn off cloudless mode, do either of the following:
- Turn Off for a Single Image Hover over a thumbnail image to show the Image Menu
- Turn Off for All Images In the Carousel toolbar, select the Toggle Cloudless Mode icon
 .
.
- Turn Off for a Single Image Hover over a thumbnail image to show the Image Menu